Tuesday, January 31, 2012

Mini CAS Valentine

     Yup, another post today; I'm on a roll!! For this card I used the sketch at CAS-ual Fridays. I decided to make it 3x3 because I was going to enter this in an additional challenge where that was a requirement but didn't end up using my Cricut. Oh well, I really like how it turned out.

Recipe:
We R Memory Keepers PP
Sheer Ribbon
Recollections CS
We R Memory Keepers Stamp

Challenges:
CAS-ual Fridays - CFC37 - sketch
The Glamorous Side Of Scrapping - CAS Sunday
Pin It

Cake Box

     Frosted Designs is having a recipe challenge this week. They are asking you to create a project with 3 patterned papers, 2 buttons and a 1 word title. So I took those elements and made this cake box!
     I used Sweet Tooth Boxes to cut my cake and Bloom to cut my flowers.

Recipe:
Sweet Tooth Boxes
Bloom
OA Sidewalks Buttons (center of flowers)
We R Paper
AC Cardstock
Bazzill Cardstock
OA Boardwalk Lime Stickers
Seeing Spots Embossing Folder
We R Twine
Color Box Chalk Ink

Challenges:
Frosted Designs - Fabulous Friday - Recipe Challenge
Cooking With Cricut - Challenge #70 - Anything but a card w/ yellow and polka dots
My Craft Spot - Anything Goes
Die Cuttin' Divas - Challenge #50 - Anything Goes

Pin It

Check This Out

I don't normally share these things but this candy is too wonderful to not share with everyone!
You have until 2/27 to enter at Livas Crafts.

Monday, January 30, 2012

My Cricut Craft Room - Letter E


     We are up to the letter E at My Cricut Craft Room and this week I have an elephant card for you.
     I used a stamp pen to ink the edges of my image. The brush tip makes it easier to get in those tight spots. "Congratulations!" is stamped in watermark ink. It's the same ink I use for embossing. My bow is a faux-bow. I made a loop of ribbon and slipped it under the ribbon band. Then I added tails and glued them on the inside. This way the bow lays flat, it looks the way I want and when I mail it it should stay together.

Recipe:
Nate's ABCs
   Elephant - 3"
Circle - 5 1/4", 4 1/2"
Card Base - 5 1/4" x 11 1/2"
1" Maise Grosgrain
Paper
   DCWV
   Ki Memories
   Recollections
   Bazzill
Versa Mark Ink
Hero Arts Stamp
Recollections Stamp Pen

Be sure to check out all the other project like mine on Erica's blog.

Pin It

Tuesday, January 24, 2012

My Cricut Craft Room - embossing powders

     This is the first project I designed on the Gypsy I got for Christmas. I had a lot of fun playing around with my new toy and after watching a couple of YouTube videos I felt confident in my skills.
     For this project I only used Gypsy Wanderings. I started by welding two 5" postage stamp tag bases together. I hid the cut lines for the inside square on left side, this will be the back of the card when folded.
     To create the silhouette of the reindeer I took the image, increased it size to fit inside the small square on the right with just a small amount of overlap. I then grouped and welded the images. I hid the decorative cuts on the reindeer's hind quarters. The paper behind the reindeer is DCWV.
     To dress up the reindeer I tied a green ribbon around his neck and added a Tim Holtz charm that I colored with watermelon alcohol ink. I also added a Bo Bunny red gem to his nose. The blue gems in the lower left are also Bo Bunny.

     For my embossing I used an Inkadinkadoo stamp with Versa Mark embossing ink. The embossing powder that I used is Stampendous in antique gold. The granules are large and the stamp was small so the embossing isn't perfect but I'm okay with that. I like for people to know that I made these cards.

Please stop by My Cricut Craft Room to see more projects like mine.

Challenges:
Die Cutting Divas - Challenge #49 - Buttons, Bling and/or Bows
Shopping Our Stash - Challenge #36 - Winter Blues
Ribbon Carousel - Challenge #37 - Non-Traditional Colors

Pin It

Monday, January 23, 2012

Clean And Simple B/W Card

     The challenge over at CAS-ual Fridays this week to create and clean and simple card (as always) using only black and white.
     When I first read the challenge I thought it would be easy. I mean, come on, they already picked the style and colors I was going to use how hard could it be?!? Well my friends, this was INCREDIBLY difficult for me. The card I ended up with is my third attempt. The first two are horrible memories I never wish to relive.
Recipe:
Echo Park Victoria's Garden
Recollections Cardstock
Michael's Ribbon
Inkadinkadoo Stamps
Color Box Alabaster Chalk Ink

Additional Challenges:
Birthday Sundaes - Challenge #40

Sunday, January 22, 2012

Snowflake Pocket Card

     Today's card is based on the sketch provided by Artful Delight. It's set up as a scrapbook layout but I took the basic elements and made card from it.
The fun part is that it's a pocket card
with an insert that comes all the way out.

Recipe:
Winter Frolic - 3"
Pattern Paper - Recollections Bright and Jolly
Cardstock - Recollections Jolly and Bright
Peachy Keen Wide Eyed Kids
Color Box Wicked Black Dye Ink
Bazzill Chipboard Snowflake
Making Memories Light Blue Pen

Challenges:
Artful Delight - January Sketch Challenge - ASC #16
My Craft Space - Monday Challenge #41 - Snow Much Fun
Whimsical Wednesdays - Anything Goes
Peachy Keen - Peachy Challenge 01 - Pockets
FCCB - Challenge Me Monday #94 - Snow Fun
Little Scrap Pieces - Use Blue

Saturday, January 21, 2012

Big News!!

     I have great news to share with all of you today! I made the Creative Cutter Room Design Team!!


     I'm so excited to be part of this incredibly talented team and I encourage you to check out the blogs of my team members.


DT Coordinator 
Carri 

Team 1:
Team 2:
Diana
Brenda 

Tracy

     So what's an announcement like this without a fun project to share!
     I used the ever popular, and super cute Create A Critter for my monkey, banana and vines. All of the paper is DCWV with the blue being embossed with the Seeing Spots cuttlebug folder. The ribbon comes from my favorite spot in Michael's, the dollar bin!
     This adorable, and fitting sentiment comes from the Crafty Sprouts stamp set Smile On. I used chalk ink and my trusty Recollections white pen so add the finishing touches.
     If you have never been to the Creative Cutter Room blog or participated in their challenges check them out and join us every other Thursday, starting February 9.


Challenges:
Celebrate The Occasion - #46 - Any occasion must have polka dots

Tuesday, January 17, 2012

My Cricut Craft Room - Card Sketch

     Friday was our scrapbook sketch challenge over at My Cricut Craft Room and today we're showing the cards some sketchy love.

This is the sketch
and this is what I did with it.
     Can you see the sketch in there? I replaced the rectangles with flourishes from the Playtime cart. I also added some ribbon. The oval is now a heart that is found on Gypsy Wanderings and the 3 little circles are now 5 rhinestones. I used Wild Card to cut the card base at 6".

Recipe:
Cricut Carts
   Wild Card
   Playtime - I used my gypsy to stretch these cuts
   Gypsy Wanderings - 3"
Paper
   Recollections
   DCWV
   Bazzill
Ribbon - from Michael's
Rhinestones

     Make sure you head over to Erica's Blog to see what the rest of the design team did with this sketch and take part yourself. Click on the challenge tab at the top of Erica's blog and join in the fun. One lucky winner will get a $10 gift certificate to Erica's online store!

Sunday, January 15, 2012

Trifold Farm Card

     Every time I saw a tri-fold card on Everyday Cricut I wanted to make one but didn't have a Gypsy and CCR was still in testing. So once I got my Gypsy I just had to start designing this card!
All edges are inked in Chestnut chalk ink.
The cuts are from Pooh & Friends and Create A Critter.
The base is made by welding 3 different sized rectangles together.

Recipe:
Pooh and Friends
   Fence
Create A Critter
   Cow
   Barn
   Howdy
Paper
   DCWV
   Bazzill
   Recollections
Chestnut Chalk Ink
Recollections Stamp Pen

Challenges:
Celebrate The Occasion - Challenge #45 - Child's Birthday
FCCB - Challenge #93 - Man Time

Friday, January 13, 2012

My Cricut Craft Room - Scrapbook Challenge

     I turned to Disney again for the first every scrapbook sketch challenge at My Cricut Craft Room. Here is the sketch to work with,
and here is my take.
     The papers are from Pinecone Press. They are actually all leftovers from a mini-album kit that I made as a Christmas gift. I did some fussy cutting for the flowers and used Mickey Font for the heads (4.41" and 4.88") the chef hat comes from Pooh and Friends (3.12"). I used a white Recollections pen for my journaling and a rub-on for the title.
     So what do you think? Are you inspired to take part in Erica's first sketch challenge? If you are head over to her blog and click on the "Challenge" tab. One lucky winner will get a $10 gift certificate to her online store! Don't forget to stop over at My Cricut Craft Room to see more inspiration for this weeks sketch.

Thursday, January 12, 2012

Snowman Shape Card

     It's finally snowed here in Minnesota. Tuesday it was 50 degrees. People were golfing, rooftop patios were open and shorts were a common sight.
     Yesterday, as I watched the tiny flakes slowly cover the grass, I was reminded that  I still live in Minnesota and we have at least 2-3 more months of this. So I'm embracing it, in my crafting at least.
     I used my Gypsy to weld two snowmen from the Winter Frolic cartridge together. I used Peachy Keen's Wide Eyed Kids for his face. The banner he's holding is from April Showers.
     I used a lot of a favorite technique of mine (glossy accents+glitter). I used it on the ear muffs and for the work thanks. For his buttons I used my Zig pen and MS glitter.

Challenges:
Die Cuttin' Divas - Challenge #47 Blue, Silver, White
DL.ART - Thankful Thursday - Thank You Card
Shopping Our Stash - Challenge 34 - All That Glitters, Sparkles or Shines
Cooking With Cricut - #68 - Photo Inspiration

Sunday, January 8, 2012

OA Sidewalks Layout - 2 Page

     Way back in September I took an OA class at Scrapfest. I was able to finish the card in class but I never got around to completing the layouts, until now. It just so happens that this kit fufills all the requirements of the My Scraps and More blog hop challenge. It also fits nicely into the Shopping Our Stash challenge this week which is rewind. We could re-do any challenge from last year. My layout could fall into so many of their past challenges but I decided to go with the most obvious #3 - UFO (unfinished objects). Last but not east Whimiscal Wednesdays challenge is to use a boarder. Those strips at the top and bottom are something I've never done before.

Winter Wishes Card

     I made a should-have-been simple card to share with you today. I'm sure it would have been super easy and quick to make had my paper decided to cooperate with me. Either way it's still a pretty card made with NO patterned paper! I glittered the skates and used glimmer glaze on the title.
Recipe:
Winter Woodland
   ice skate - 1"
   snowflakes - 1 1/4", 1 1/2", 2"
Gypsy Wanderings
   font - 1"
Glitter
Glimmer Glaze
Paper
   DCWV
   Bazzill

Challenges:
My Craft Spot - Winter Wonderland
BBTB2 - Winter Woodland Ice Skate
My Creative Time - Sports
Frosted Designs - Cardstock Only

Saturday, January 7, 2012

Erica's Craft Room - 100 Cricut Cartridge Blog Hop

My Cricut Craft Room 100 Cartridge Hop
Welcome to
My Cricut Craft Room's
100 Cartridge Blog Hop!
     If you're here from Amber's blog (http://pixiperfectcreations.blogspot.com/) you're in the right place, if you just stopped by come join us from the beginning.
     I used Pooh and Friends, Elmo's Party and Wild Card to make this fun personalized party hat! The hat was cut from Elmo's Party (6.65"), Piglet and his shadow are from Pooh and Friends (4.09") and Ashleigh is cut using the font on Wild Card (2.02"). I used my gypsy to weld the letters together.
     To create the fringe on the hat I took a sheet or tissue paper and folded it accordion style (like you would if you're making a paper fan or rosette). Then I stapled it along one edge and used my scissors to fringe it on the other.
     Before assembling the hat I used my ATG to apply a line of adhesive on the inside of the hat. I stuck the tissue paper along the edge doing my best to keep it even all around. For the fringe at the top I cut off a small piece from my line of fringe (about 1" long) and rolled  it up. After cutting a little off the top of the hat I glued the rolled up fringe in place.
     I used my paper piercer to make two holes on the sides of the hat, after it was assembled, and strung some stretchy cord through. Make sure to measure this with your child's head. I just guessed and when I put it on my daughter it was a little tight!
     Thank you for stopping by I'd love the hear what you think of my project and have you become a follower. You're next, and last stop for today, is Erica's Blog Candy

You Are Here >>> Tonya http://ittybittyladybugs.blogspot.com

Friday, January 6, 2012

Erica's Craft Room - Disney Scrapbook

     Hey everyone! Thanks for stopping by today. I have my very first Design Team project for Erica's Craft Room to share with you! 
     Friday is now scrapbook day and this weeks theme is Disney. My family and I had the opportunity to go to Disney World this summer. We all had a great time. My three year old is still talking about it and asking to go back. Even my 1 year old has come away with an obsession for Micky Mouse.
     I designed this layout on my Gypsy first. That little device takes all the guess work out of how big I should cut each piece. I just love it. Thank you Mom for the wonderful Christmas gift.
     Mickey is strategically placed here to cover up the kid who sat down by my kids right as I got both of them to look at me at the same time
     You can kind of tell in the first picture that I used foam squares but this photo lets you really see how much dimension this layout has. I used a couple different thicknesses of foam to really vary the heights and give it lots of visual interest.

Recipe:
Mickey and Friends
   Fence - 1.8" (3)
   Tree - 7"
   Sun - 4"
   Clouds - 1.5" (2), 2" (1)
   Mickey - 2.8"
American Crafts This & That Foam Squares
Pop Dots
American Crafts Sky Blue Pen
Jillibean Soup - Background
Would you believe all the other paper is scraps I had lying around!

     I hope you enjoyed my project, I'd love to hear what you think and have you become a follower! Be sure to pop on over to Erica's Craft Room to see more projects like mine.

Wednesday, January 4, 2012

Birthday Cupcake Card

I'm back to my normal posting after a month as a guest designer at Erica's Craft Room. I had a lot of fun making Christmas crafts and now the fun doesn't have to end; I've been asked by Erica to join her full time design team!! I'm very excited and can't wait to share my first project with you; it's coming on Friday.
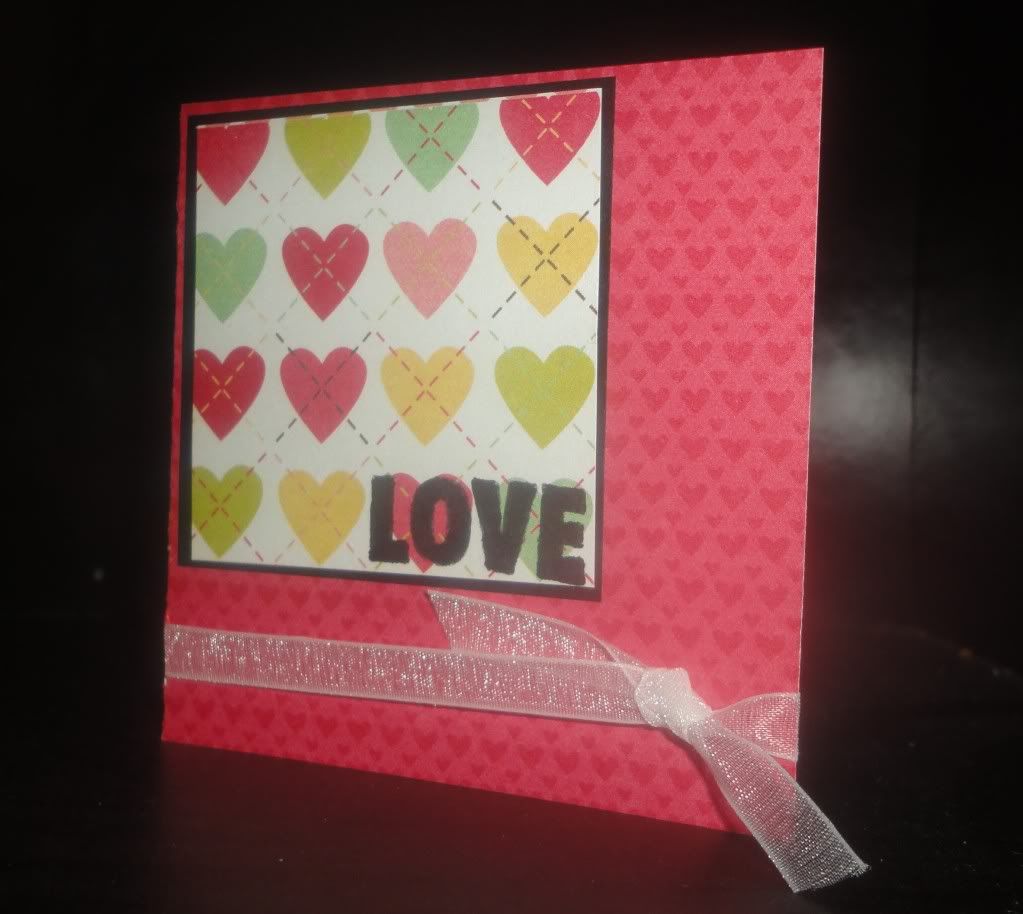
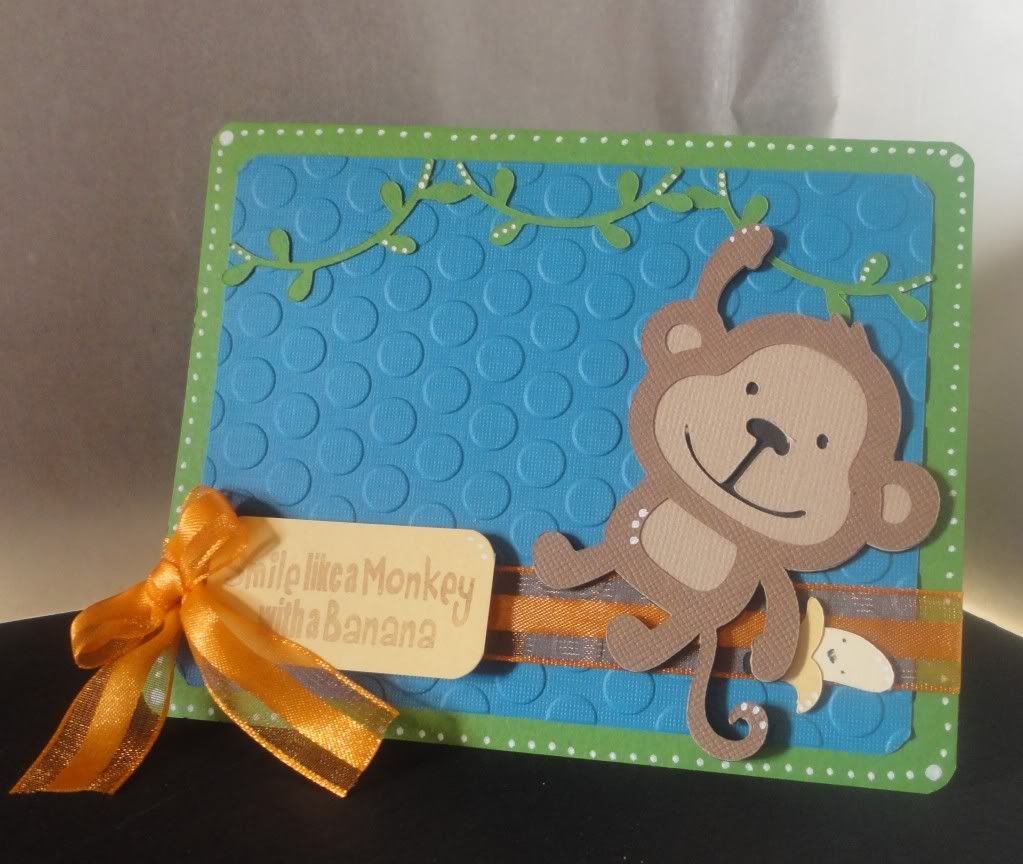
Until then I have a birthday card that I made for Diana's blogaversary (DL Art). She had a blog hop where ingredients for my card were collected. There is still time to complete the hop and participate in the challenge. You have until January 6 and Diana is giving away the Sweet Tooth Boxes Cricut cartridge.
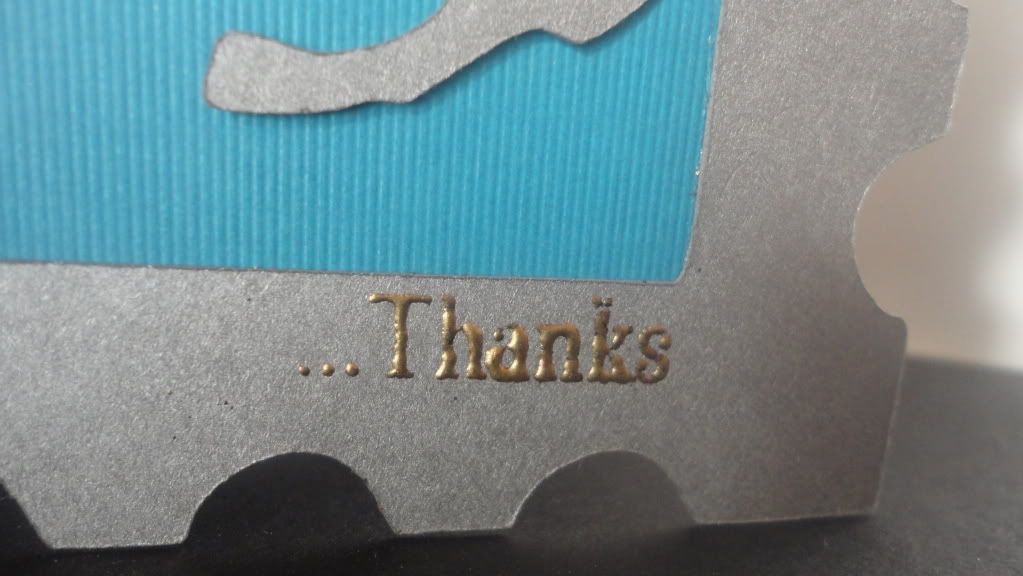
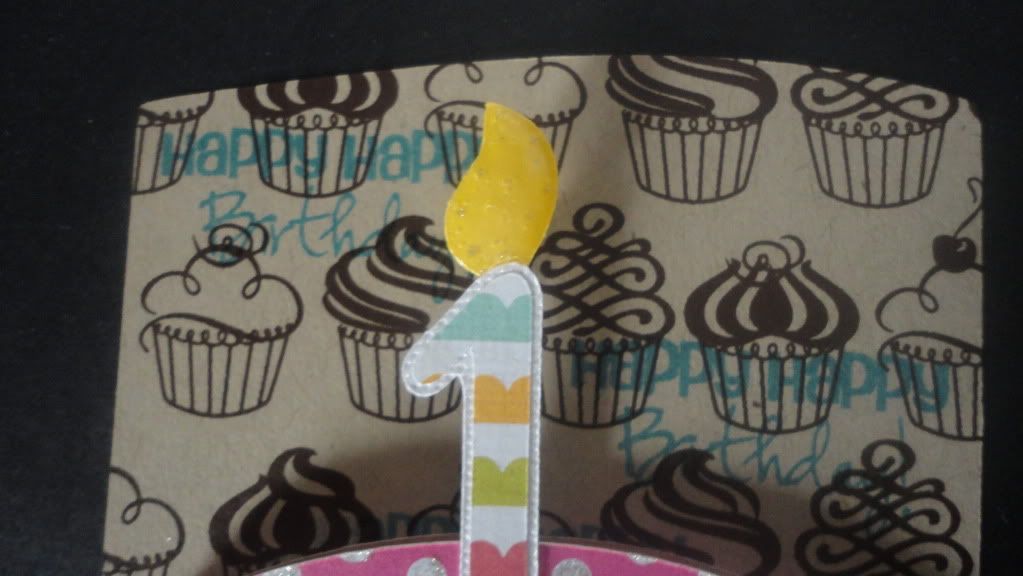
I embossed the flame, added a little glitter and topped it off with glossy accents.
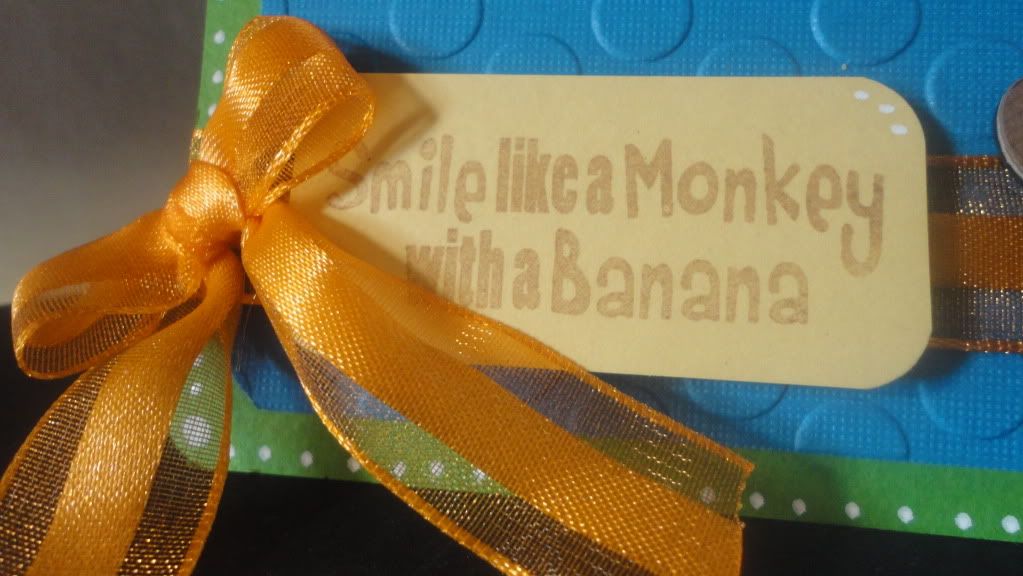
In honor of all the glittering Diana did this past month I added glitter to all the dots on the frosting. My glittering was done with a pen, however.
To finish the card off I added a thin ribbon around the liner and a rhinestone.

Recipe:
Wild Card - 5"
Recollections Horizon Dye Ink
My Creative Time - Wow! So Many Candles Stamp Set
Offray Spool O' Ribbon
Gelly Roll Glitter Pen
Glossy Accents
Swiss Dots Cuttlebug Folder
Studio 18 Rhinestones
Scrap Paper

I'll also be entering this card in the following challenges:
FCCB - #92 Warming Up With Hot Chocolate (you could also use brown)
Simply Crafts - January Challenge
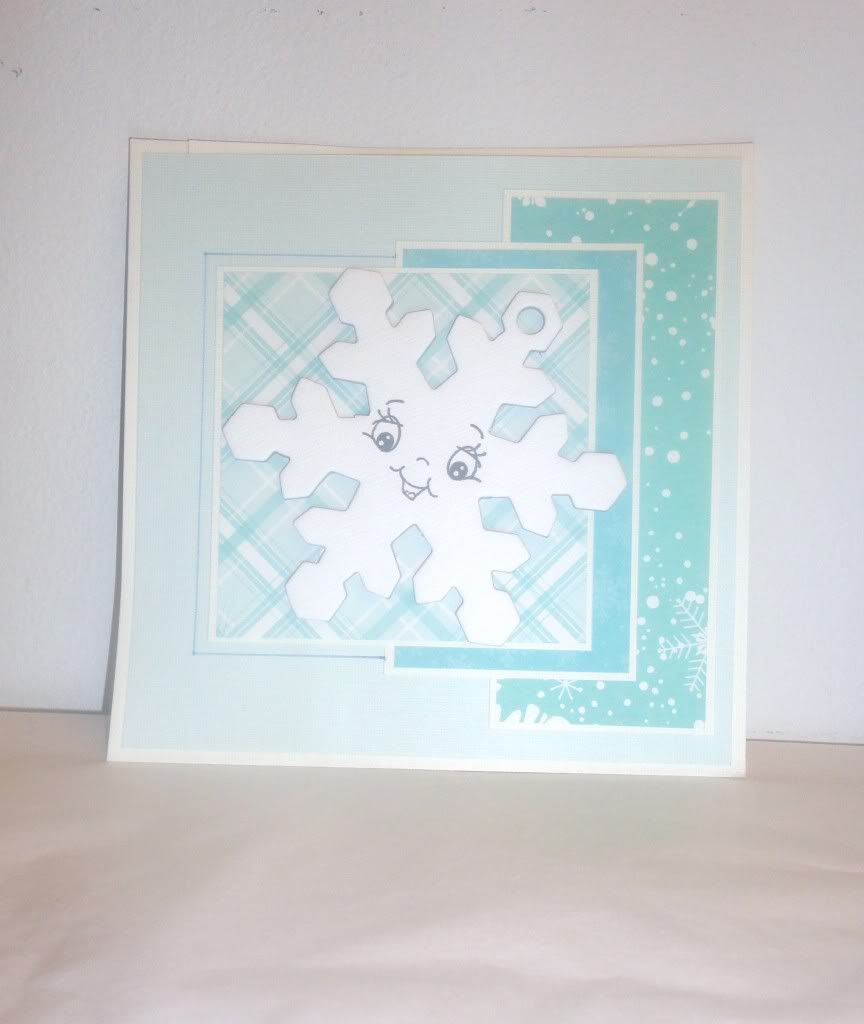
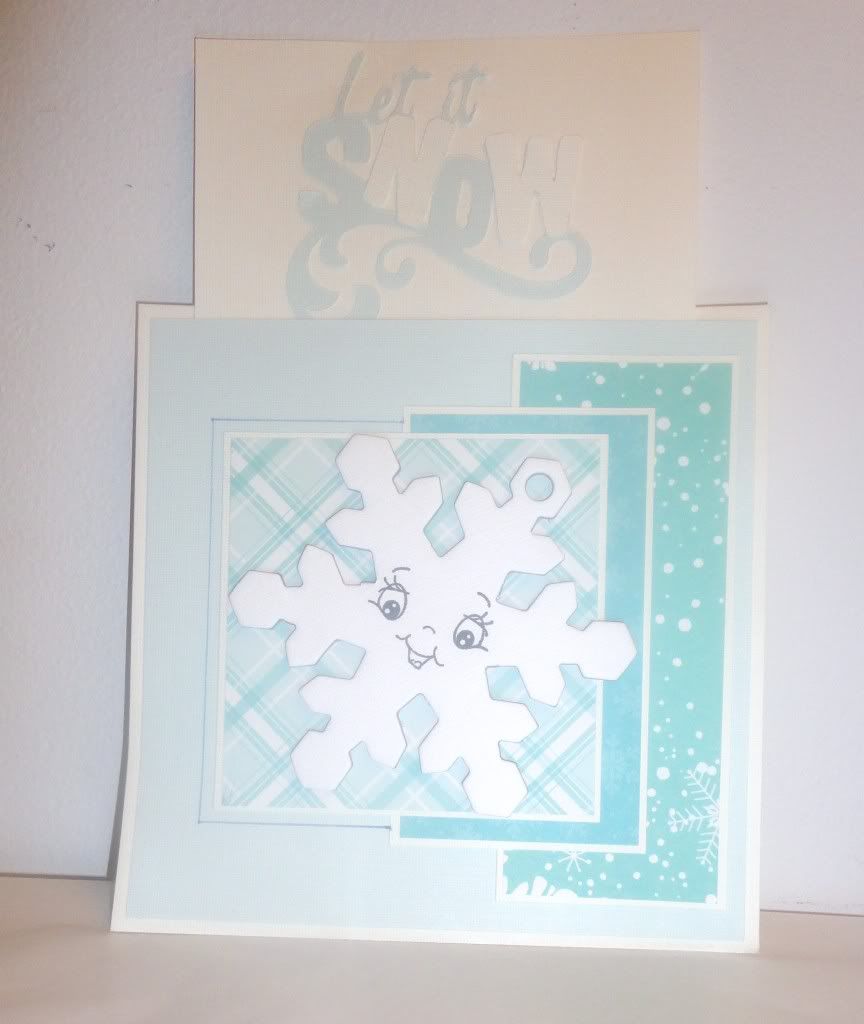
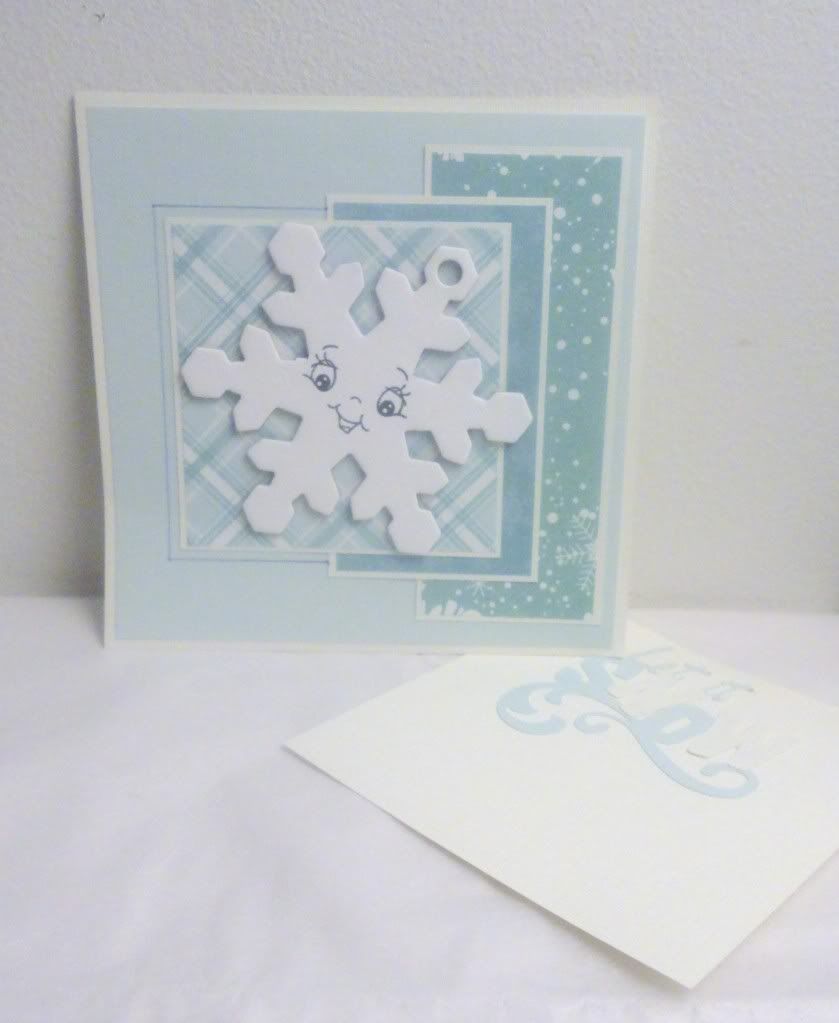
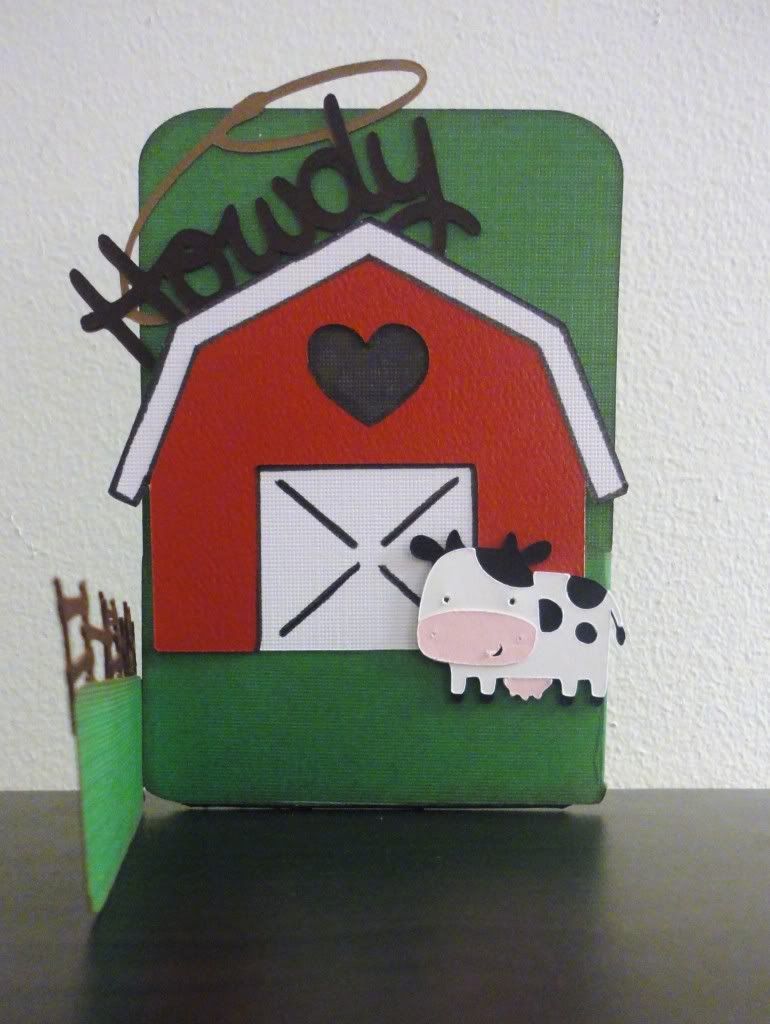
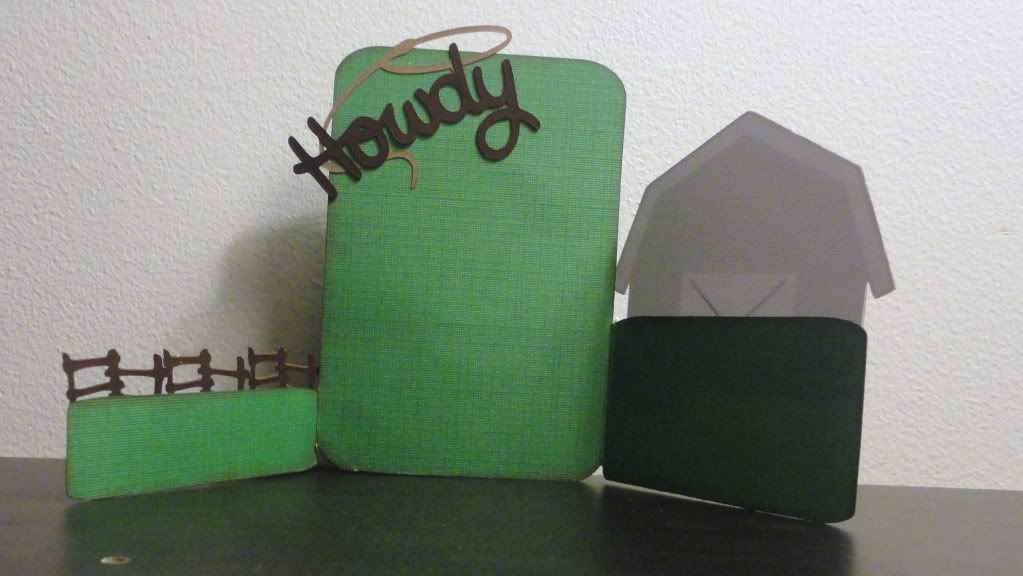
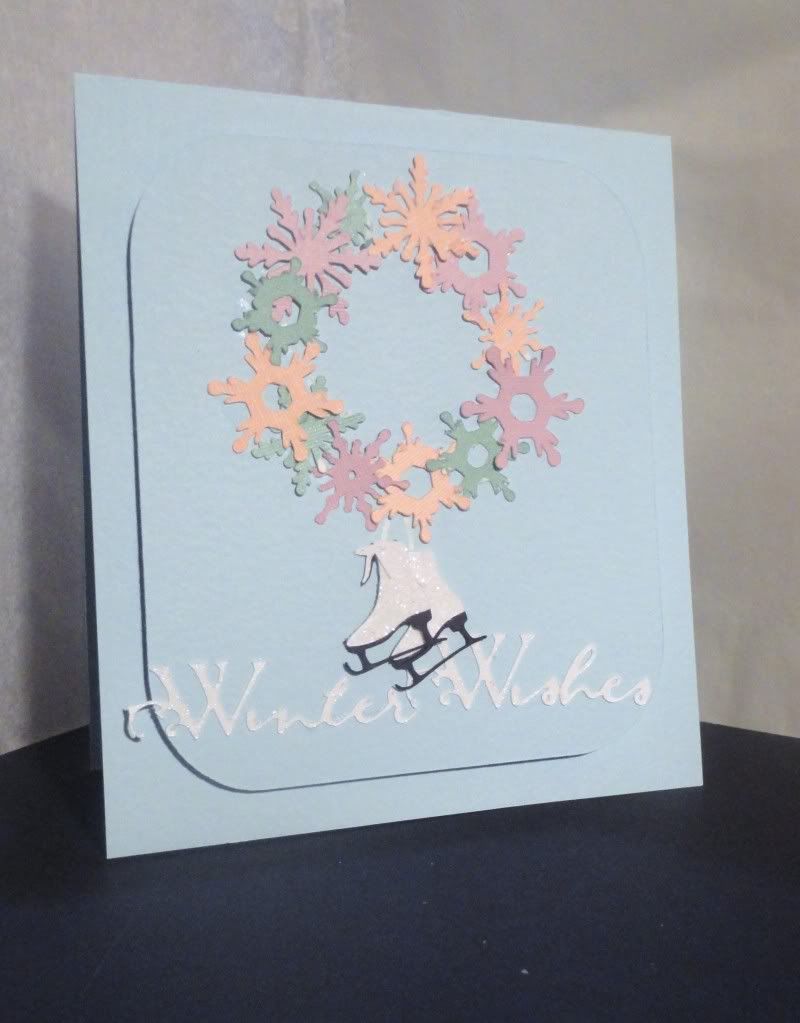
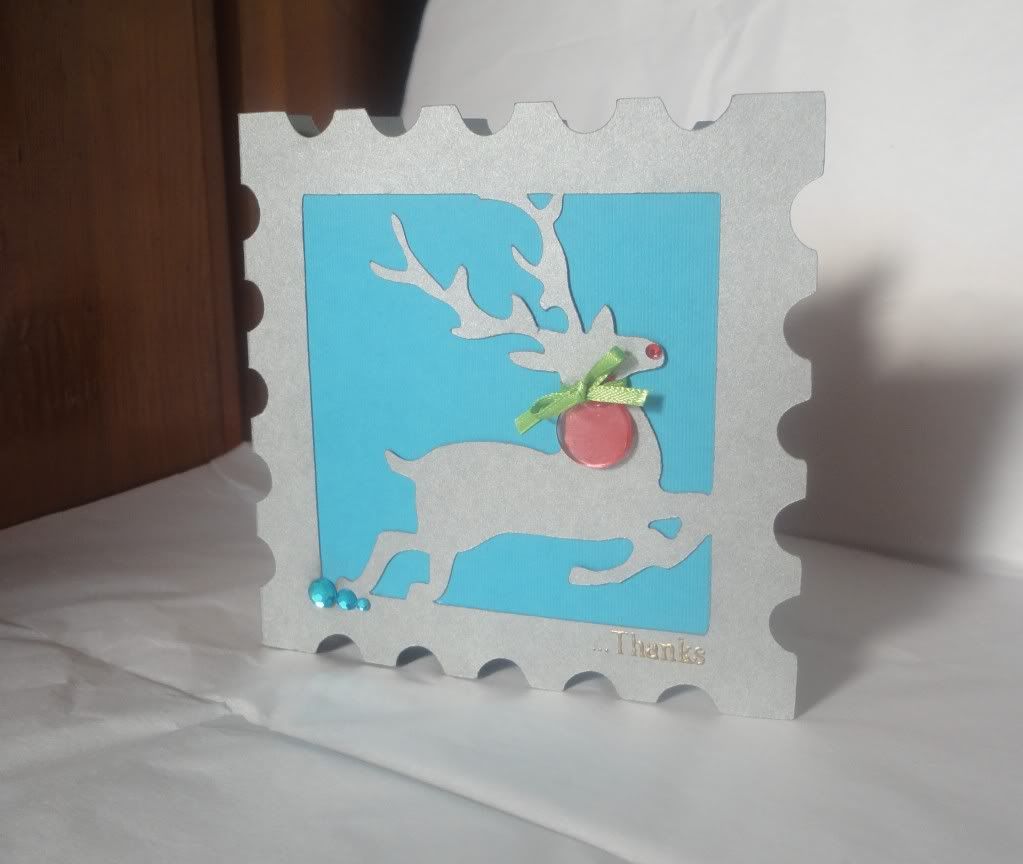