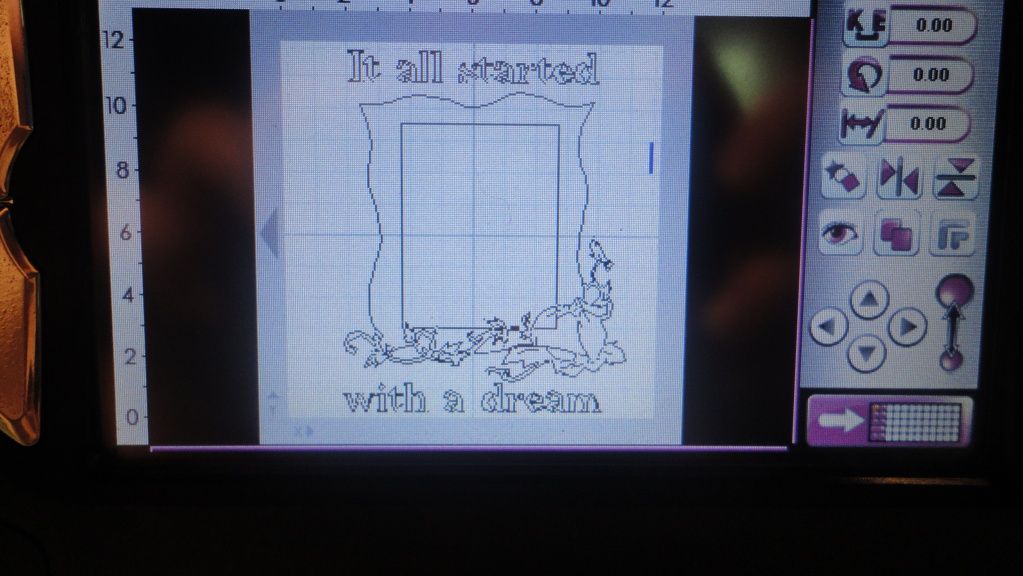
To start with, I designed yet another Disney layout on my gypsy. This is what it looks like on the screen.
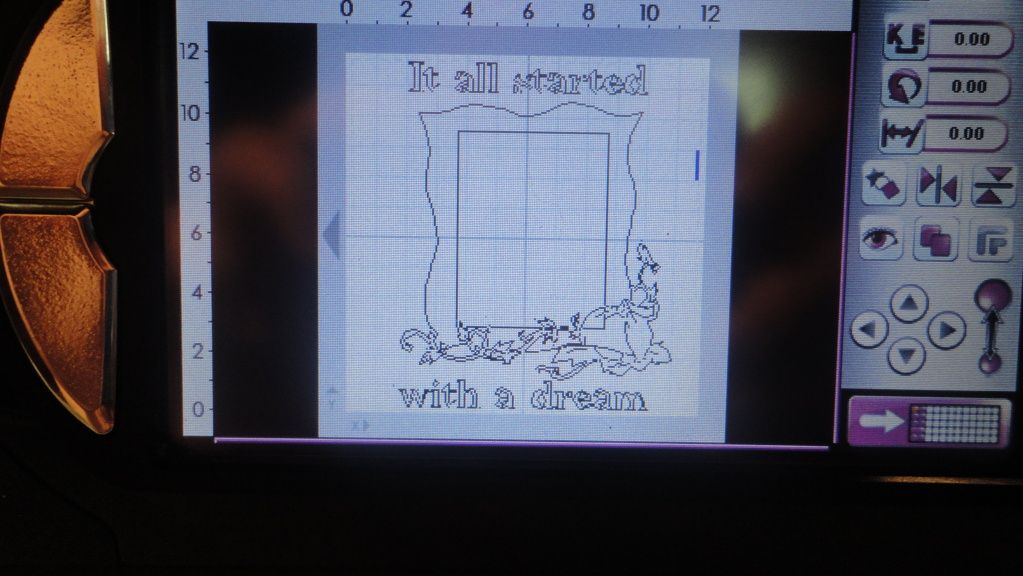
You can see I have my title on two lines and my frame centered left-to-right but slightly higher than vertical center.
So how do I get my title to be straight, center and spaced just like I see it on my screen? Well I use my negative paper as a stencil! Let me show you how.
First I "hide" my frame and pumpkin cuts so my screen looks like this.
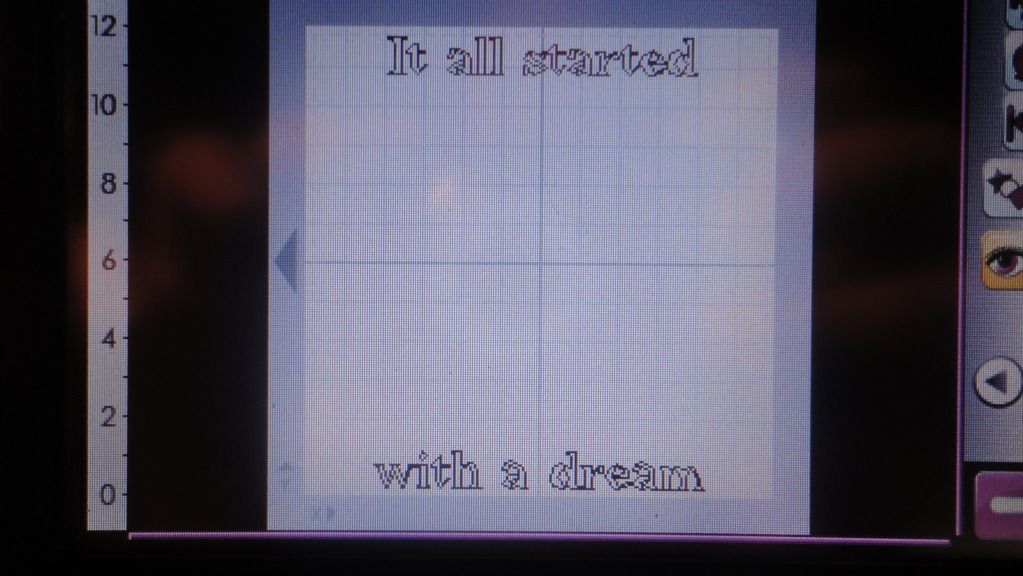
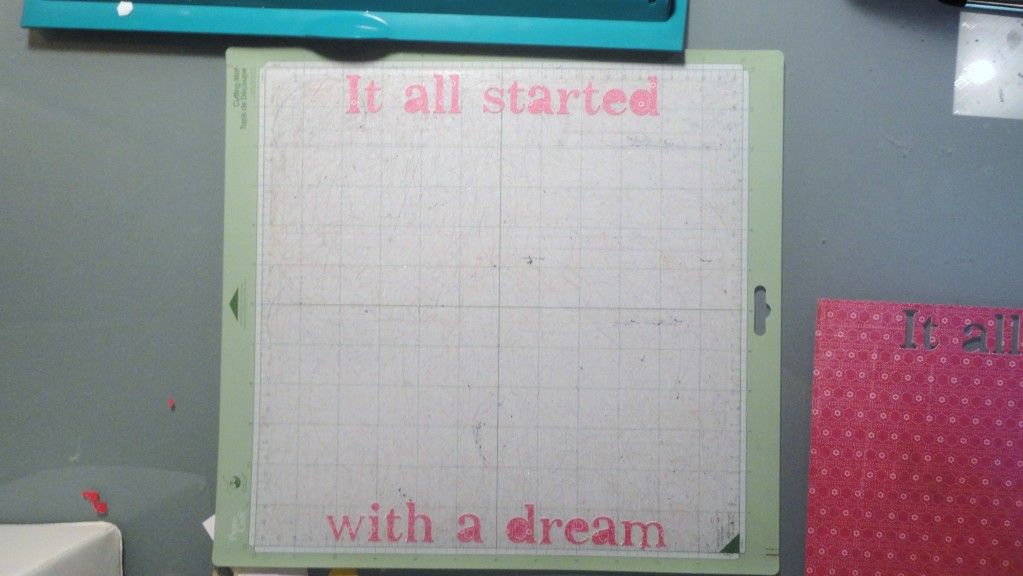
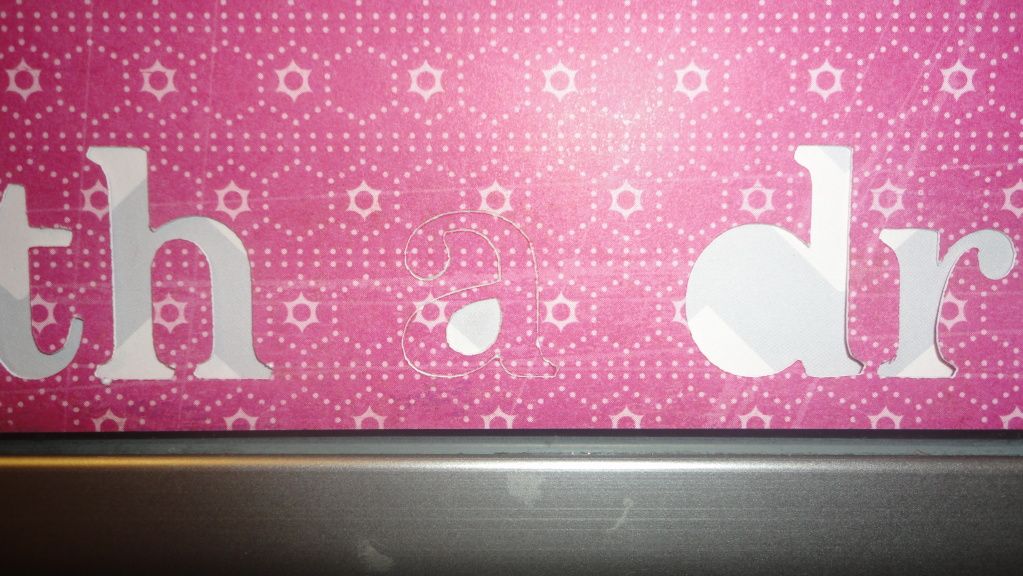
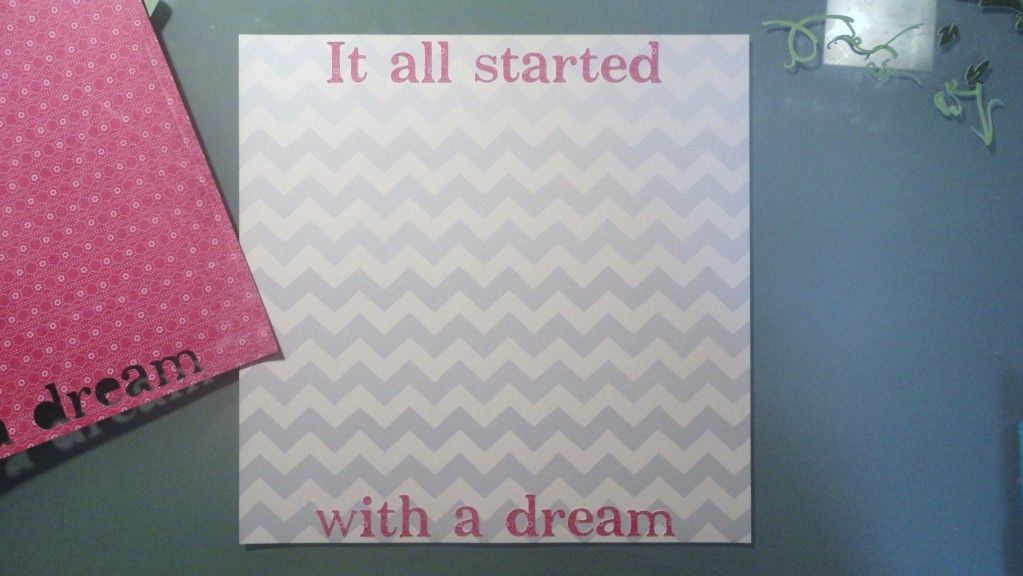
You can see my title is still exactly where I want it on my finished layout. I then cut this on a full sheet of paper. It comes out looking like this:
my paper, that will be my template
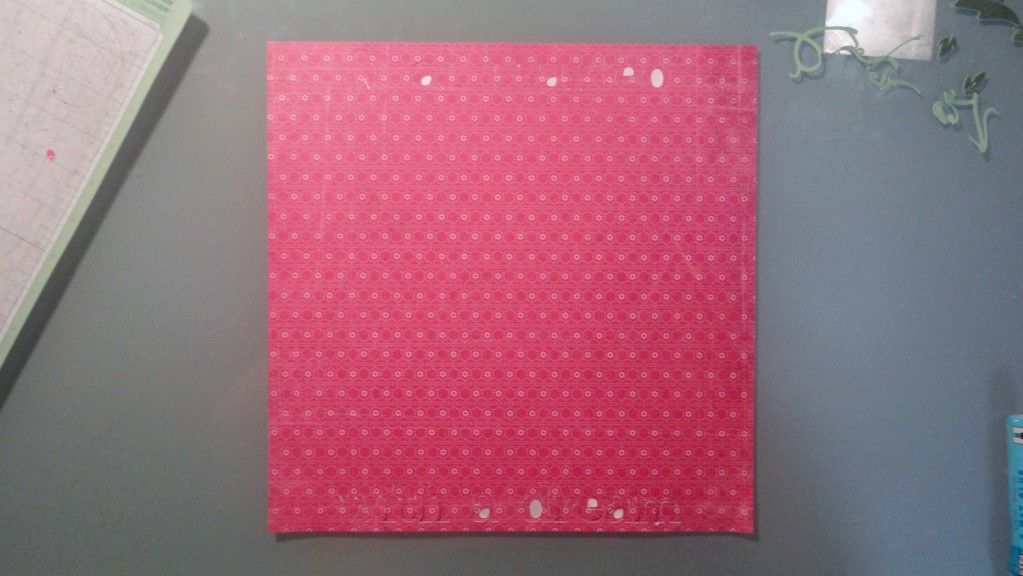
and my mat
At this point I line up my cut paper with my background paper. If one sheet is slightly larger than the other make sure your upper left-hand corner is lined up.
Now you'll want to apply adhesive to your letter and use your template to apply those letters to your background paper.
As you apply your letters make sure you lift up on your template paper every once in awhile. This helps ensure you're not gluing your template to your background.
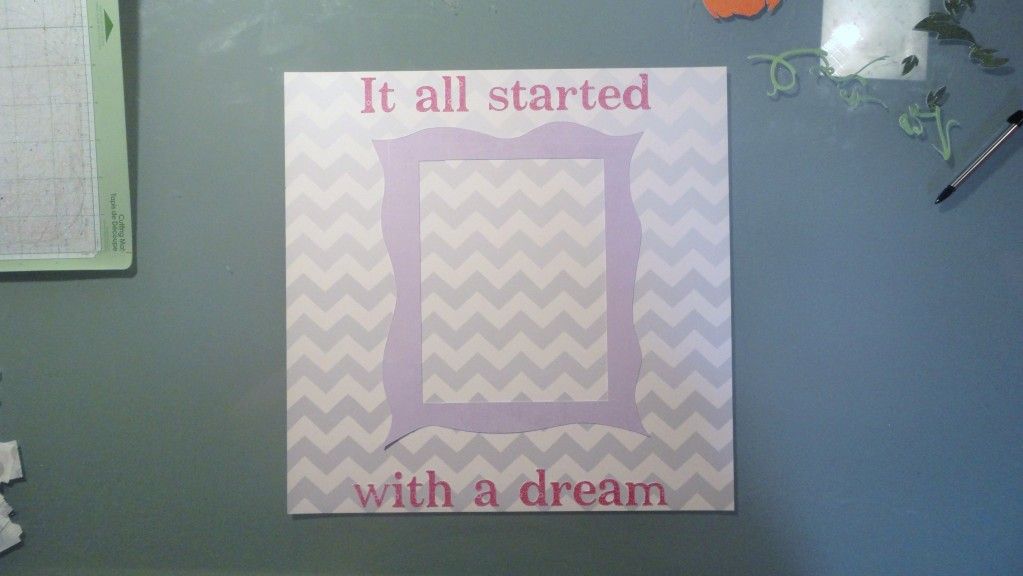
This is what it will look like when you have all your letters glued down.
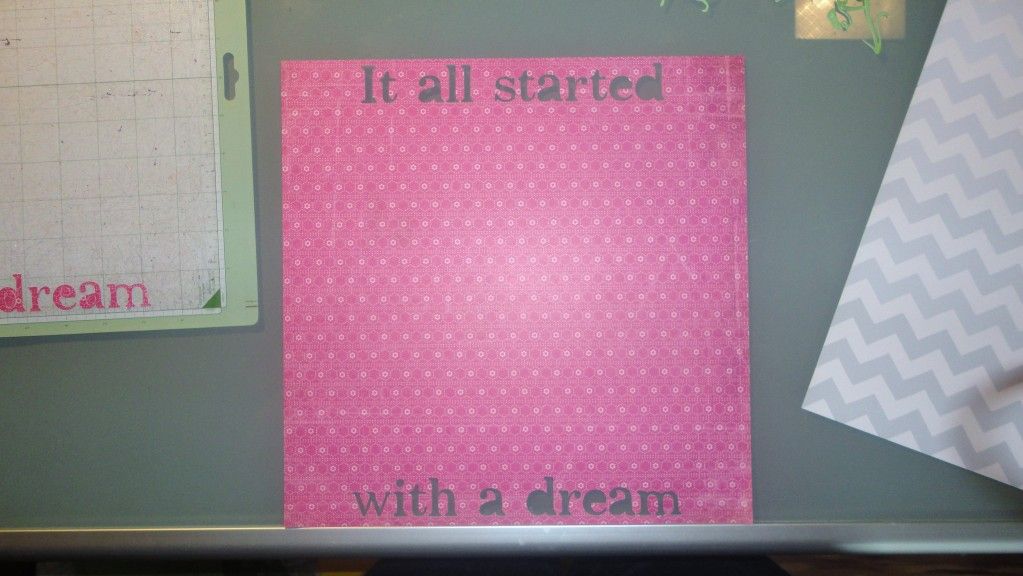
Once you remove your template you'll be left with a title that is perfectly straight, centered and spaced.
This technique also works on images.
1) Cut your image.
2) Line up your template paper on your background paper. Make sure the upper left-hand corner is square.

3) Add adhesive to your image and line up with your template.
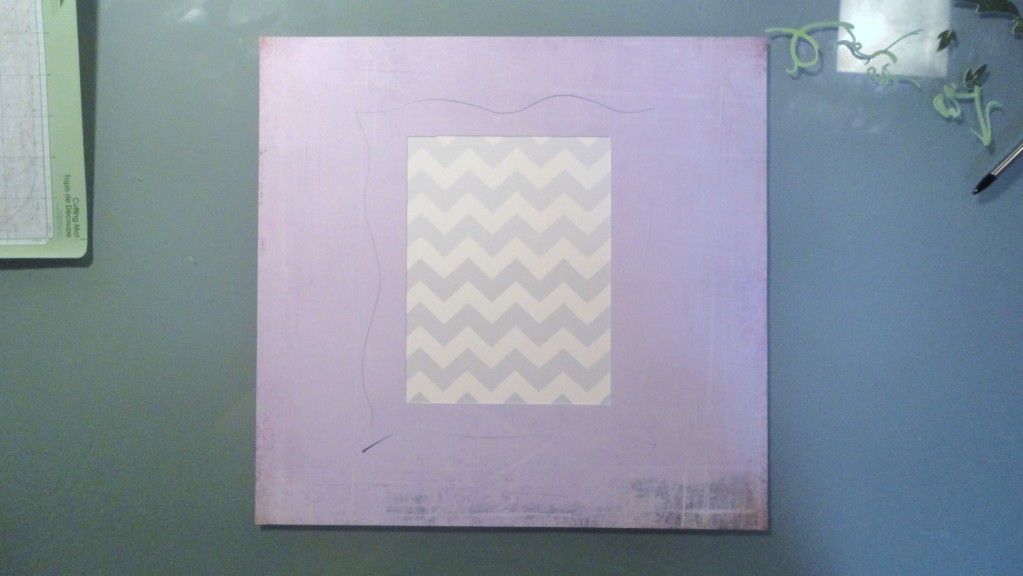
4) Remove your template.
You'll be left with a perfectly aligned frame that is centered, straight and exactly where you want it.
I finished my layout with a picture and mats as well as my pumpkin cut. Now my completed layout
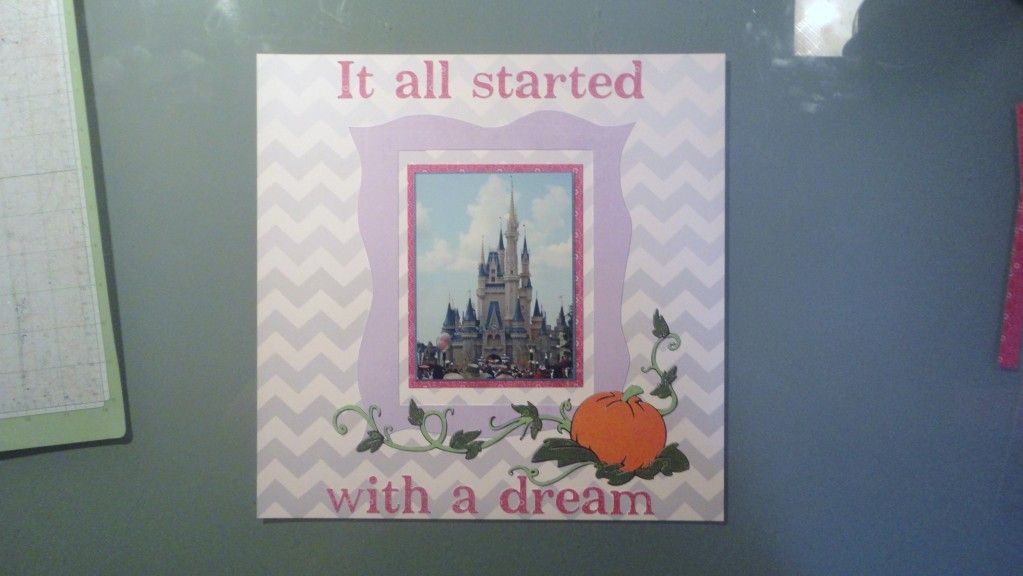
looks just how I designed it on my gypsy
4 comments:
Looks great. Now I just need to actually use my Gypsy.
Georgiana
Carson's Creations
Great job Tonya I will be sure to use that idea
DIANA L.
http://dianamlarson.blogspot.com
Thanks for sharing this tip!
Thanks for the tutorial! My gypsy wont even turn on:( sadness...I miss being able to use it I guess I need to call Provo Craft AGAIN!!
~Kim
Post a Comment